Transferring Lyrics to a Musical Instrument
-
1.Connect your smart device to the instrument.
-
2.On the lyrics home screen, tap the Option Menu button to the right of the title of the data you want to transfer.
-
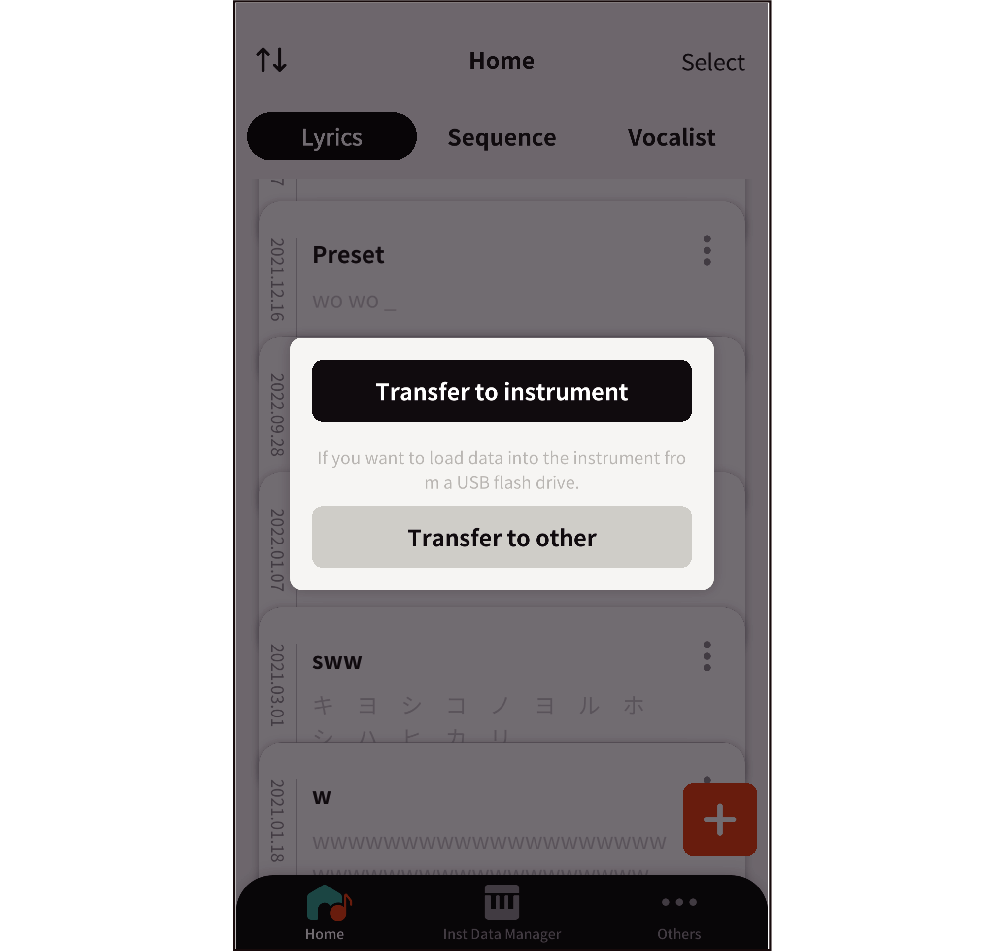
3.On the option menu list, tap Transfer.
-
This displays the screen for selecting the transfer method.
-
4.Tap Transfer to instrument.
-
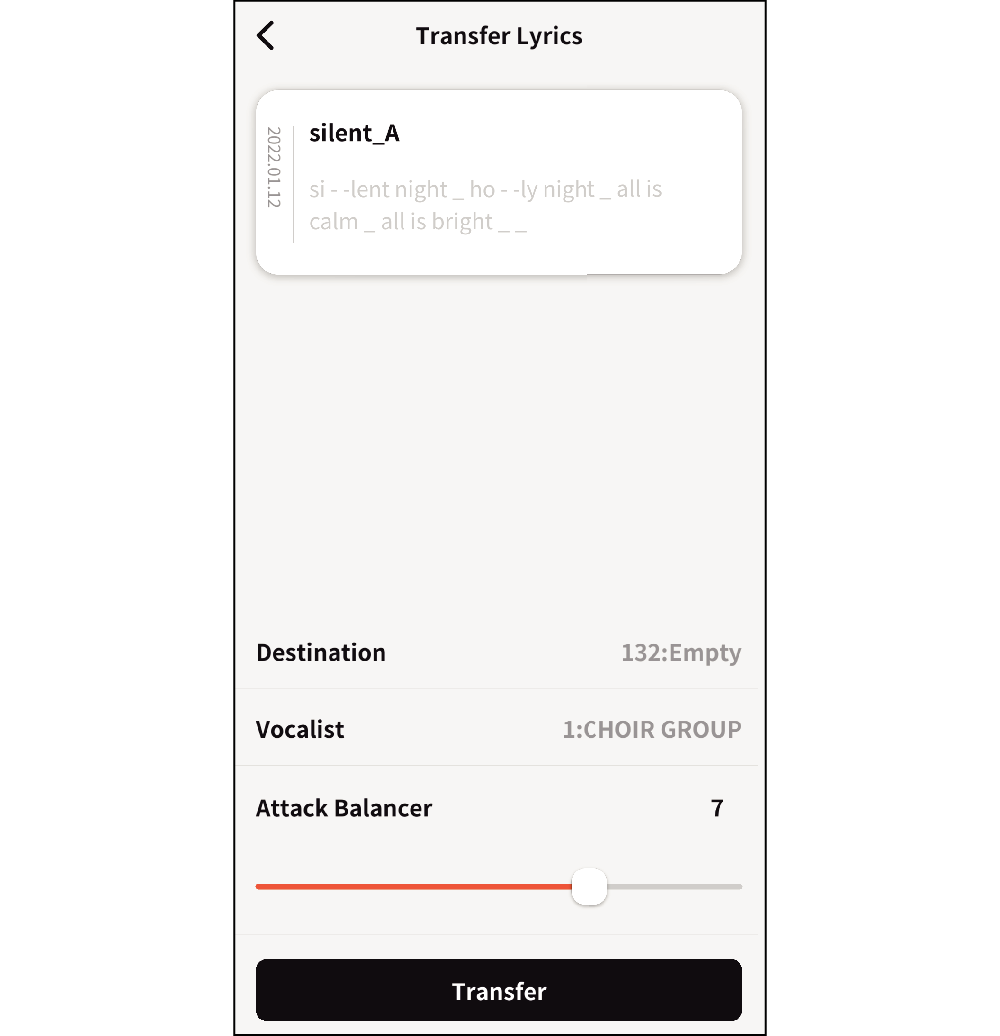
This displays the transfer setting screen.
-
5.Tap Destination and then select a transfer destination.
-
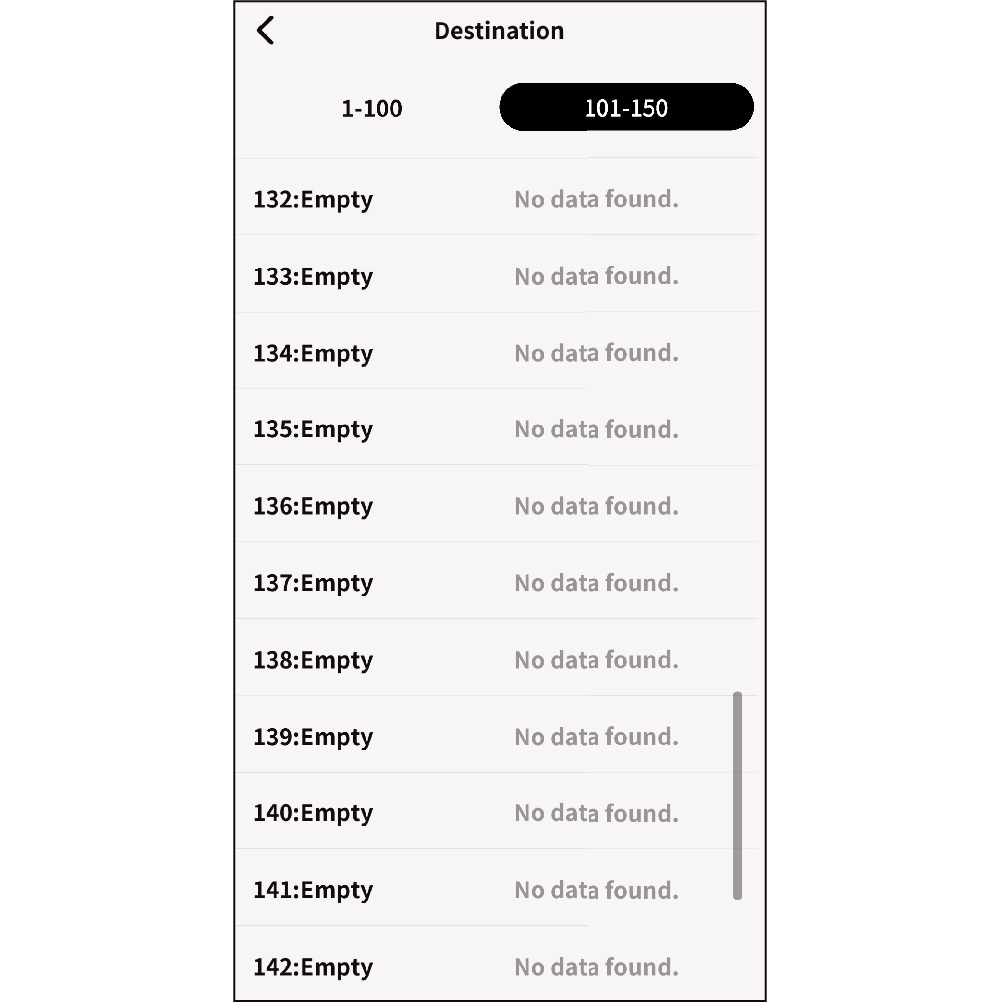
Selecting the vocalist returns to the transfer setting screen.
- The transfer destination is a user lyric tone from 1 to 150, consisting of 100 built-in tones and 50 user tones. The initial default setting is 101.
- You can also overwrite the built-in data.
-
6.Tap Vocalist and select a vocalist (singing voice).
-
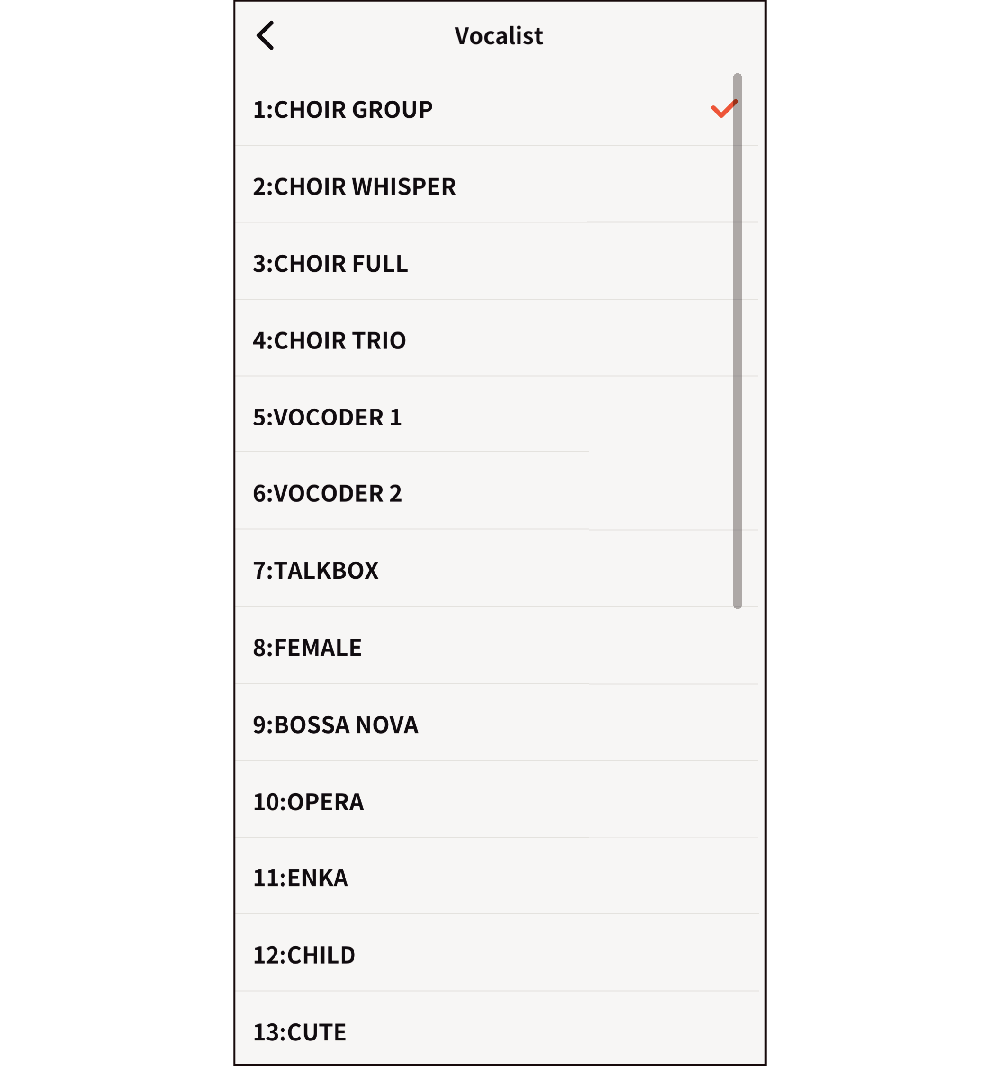
Selecting the vocalist returns to the transfer setting screen.
- Choose from among recommended vocalists 1 to 23.
-
7.Configure Attack Balancer settings.
-
For details about the attack balancer, refer to “Making the Timing When Lyrics Sound Easier to Play on the Keyboard (Lyric Tone Attack Balancer)” in the instrument’s User’s Guideinstruction manual of the instrument].
-
8.Tap Transfer.
-
This displays a transfer confirmation screen.
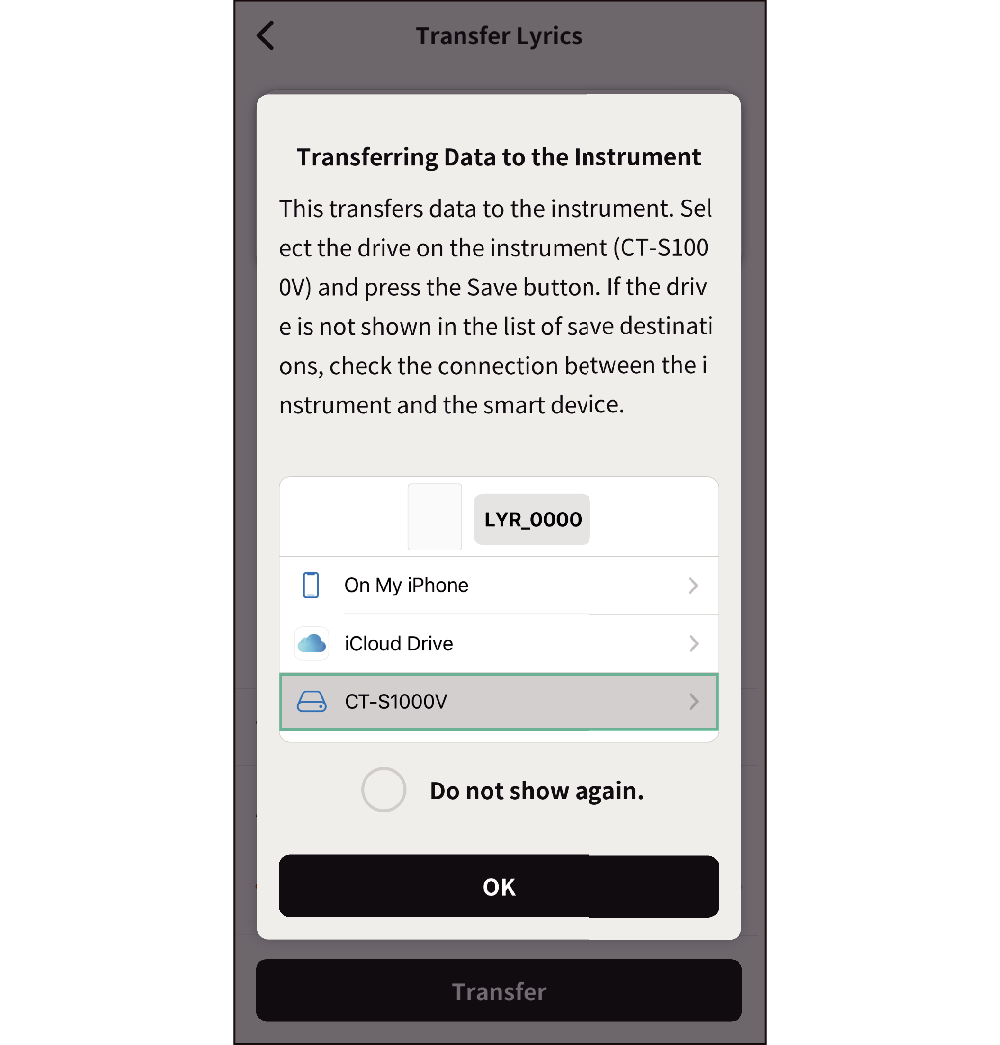
- If the smart device and instrument are not connected, tapping Transfer displays the check connection screen.
-
9.Tap OK.
-
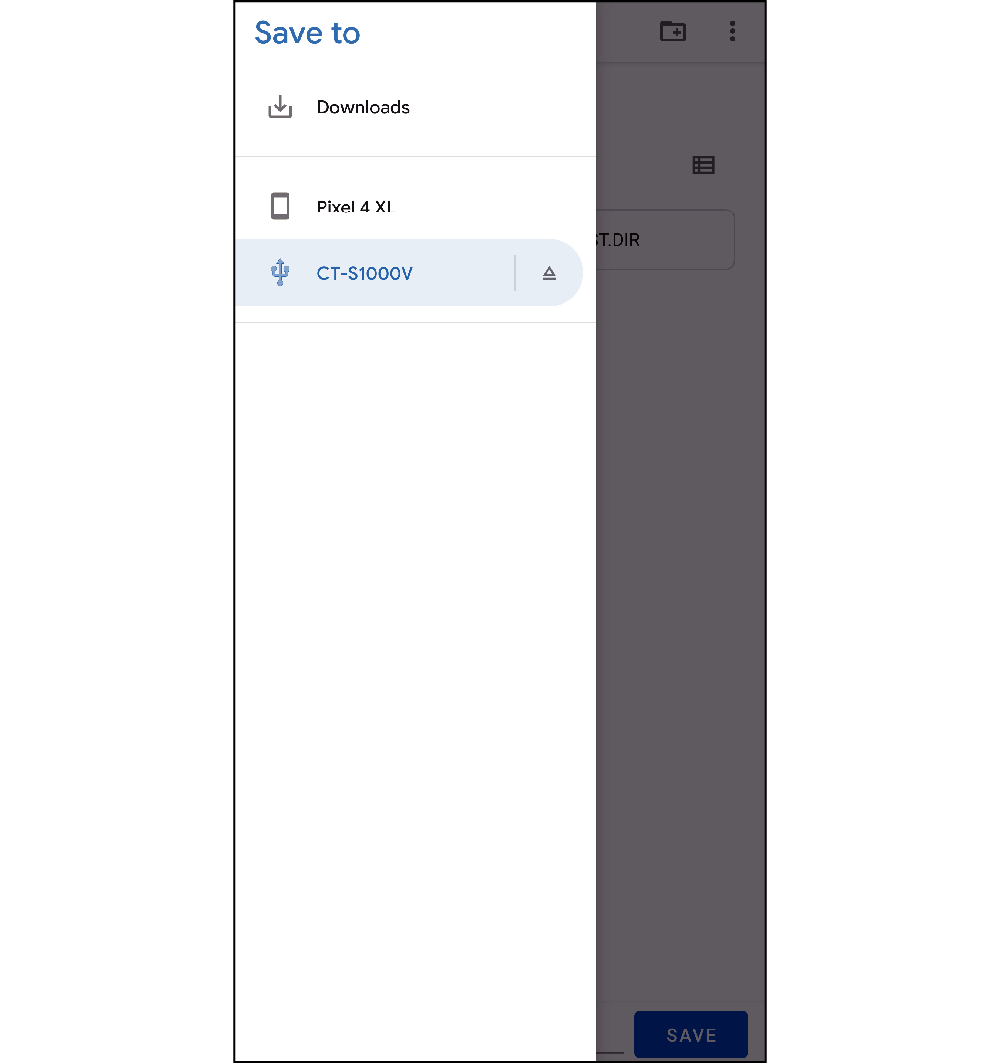
This displays a transfer destination selection screen on the smart device you are using.
-
10.Select CT-S1000V (instrument drive) and then tap Save.
-
Android
iOS
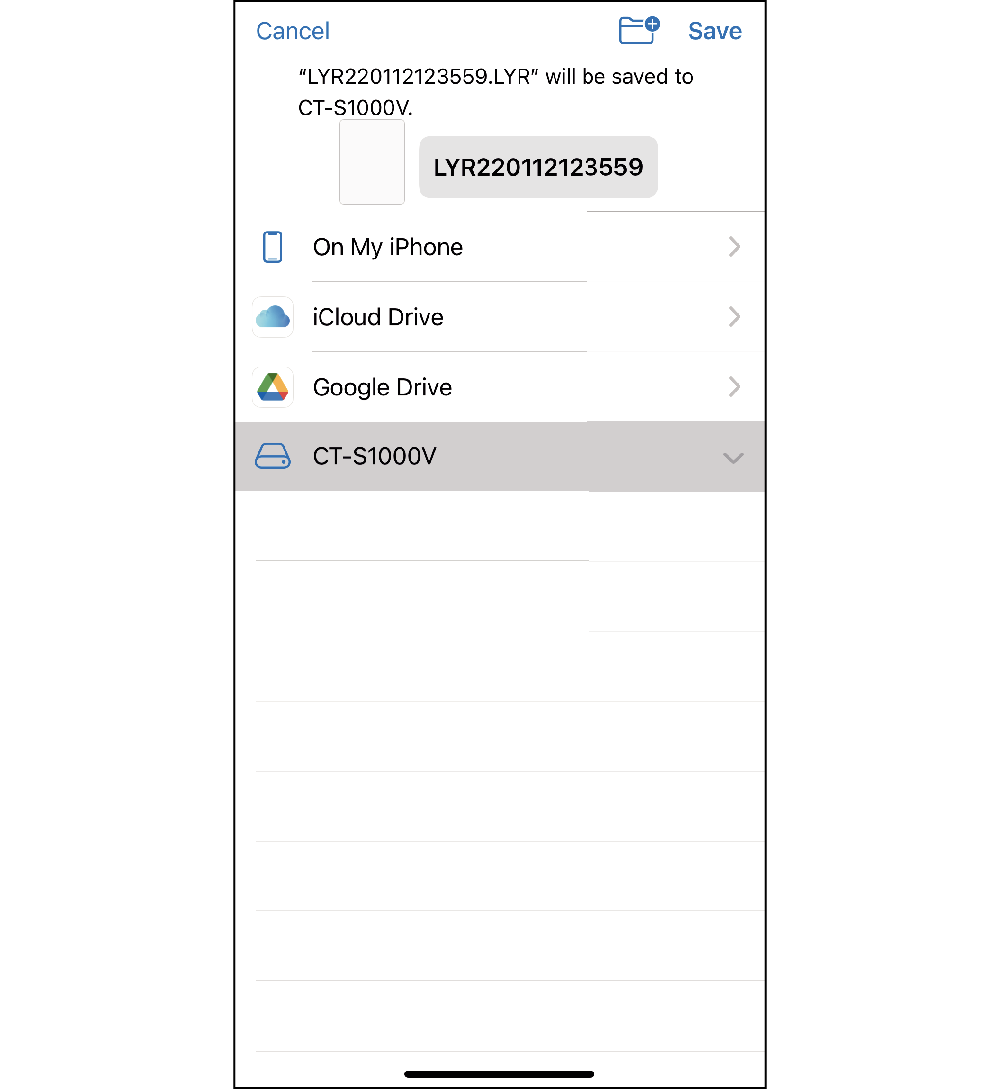
When the save operation is complete, the home screen re-appears with a transfer complete message.

 Top of page